
I have crooked bottom teeth. It’s not terrible, but sure looks far from good. So when I smile, I usually make a point not to show my bottom teeth. Since I’m able to hide it, fixing my smile wasn’t something that’s on the priority list. I sure as hell am not going through the suffer through metal braces, and paying upwards of $7,000 for Invisalign just seems much too excessive. Enter: Smile Direct Club, the invisible braces kit that cost less-than-half of Invisalign. What’s the secret to their economical price tag? They cut out the expensive visits to the middle man (i.e.: dentists).
How It Works
My journey with Smile Direct Club started with making an appointment to get my teeth scanned. This isn’t your typical dentist visit.
The quick visit involved their “Smile Tech” taking a picture of my teeth using a 3D optical camera, which captures a digital map of my smile, including my teeth and gum lines. This 3D image helps them determine if I’m even fit to get my smile corrected using invisible braces and allows the lab to work with the doctor overseeing my case.
If you don’t happen to live in a city where they have a scanning center, they will send you an at home DIY impression kit, which kind of sounds like a fun play-doh session. I was shamefully a bit sad about not doing that part.
This assessment process typically cost $95, but you can get it half-off using the code MimiChichiSmiles.
Getting The Braces
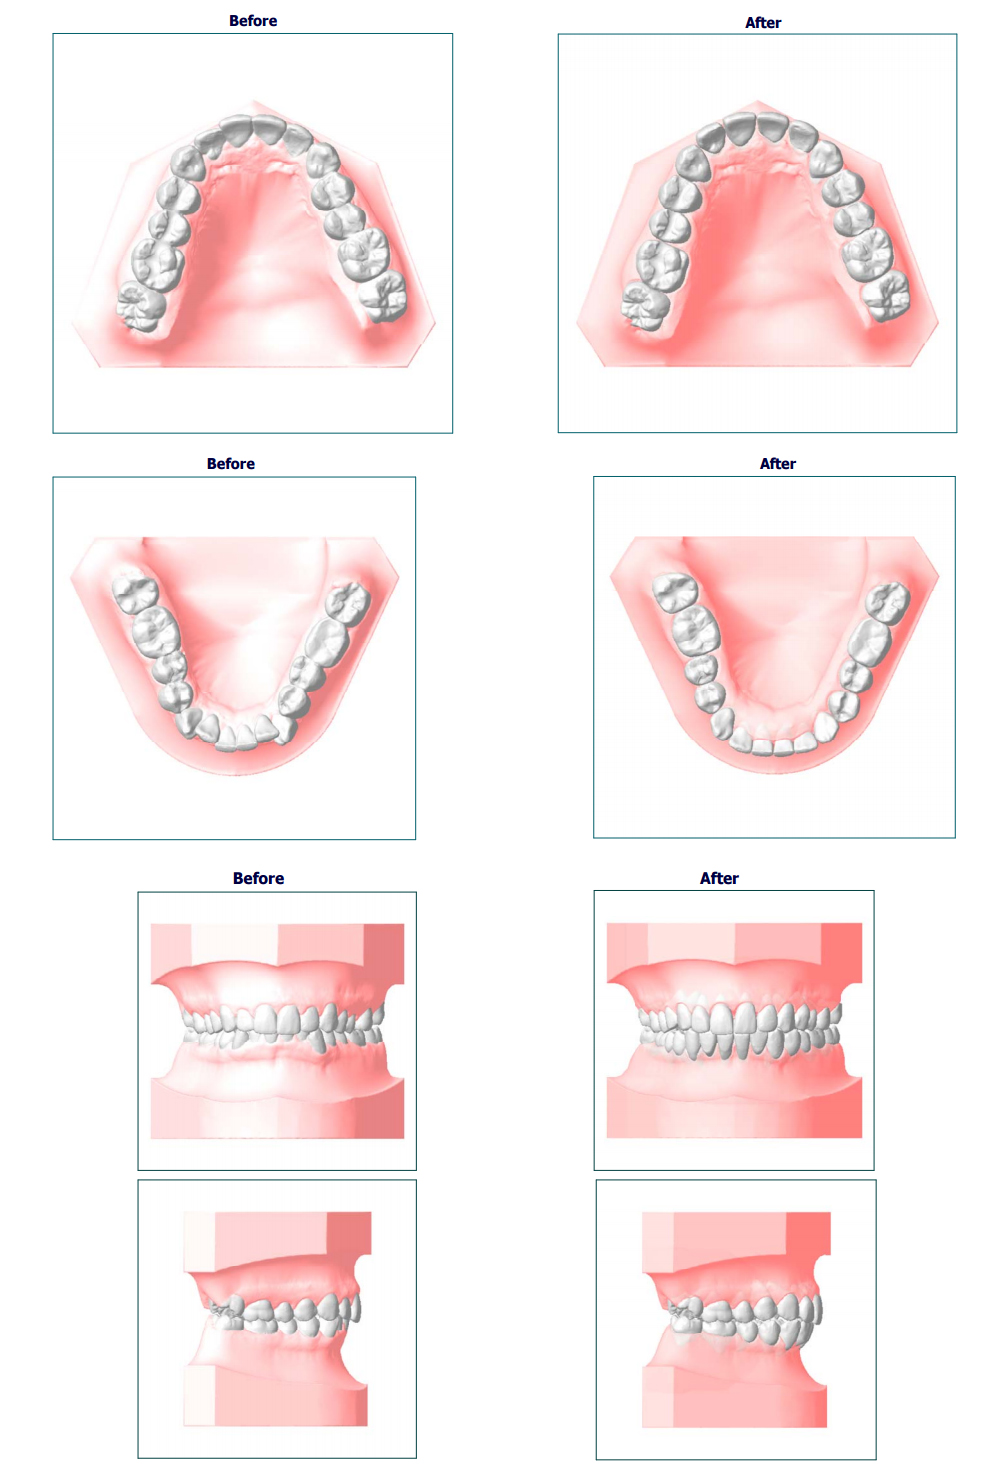
A few days after I did the scan, I received notification that I was indeed a match. I totally expected this since my teeth was not that bad. I would imagine only the worse cases that require constant dentist supervision are the ones what would be rejected. I also got a report that included my before and after projection imagery, and how long the treatment will take (8 months for me).
At this point is where you will decide how you’re going to pay for the braces, since Smile Direct has options to pay in full or using monthly installments. I was provided the braces free of charge (thank you Smile Direct, love you) and got my braces in a few weeks after doing my scan.
The First Time is Not Very Fun
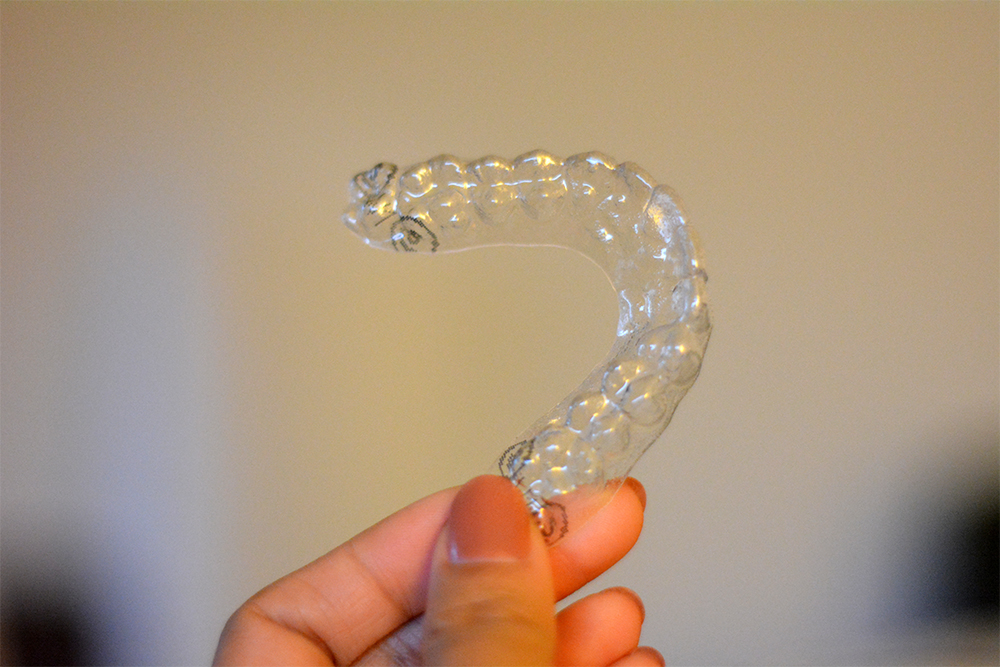
In doing my preliminary braces research, one common theme I heard is how much it will suck putting on your braces for the first time. So I was mentally preparing myself for the pain. But really it did not suck (that much). It definitely felt super tight, I mean it is supposed to move your teeth, but nothing that made me want to reach for pain killers. The uncomfortable feeling subsided as the days go by.
My monthly braces pattern usually goes like this: two set of braces, each for week one and week two, and a third set of braces to be worn for week three and four. That super uncomfortable tight feeling is always there every time you put a new set in, and usually subsides within a day or two.
I’m currently on the last week of month four, so I’m almost halfway there! I’ll write a new blog update once I’m fully done, but in the meantime, here’s a few pro-tips:
- Annoying things that you’ll just have to get used to: brushing your teeth at least four times a day, since you’ll need to do it after every meal/ snack before putting your braces back on.
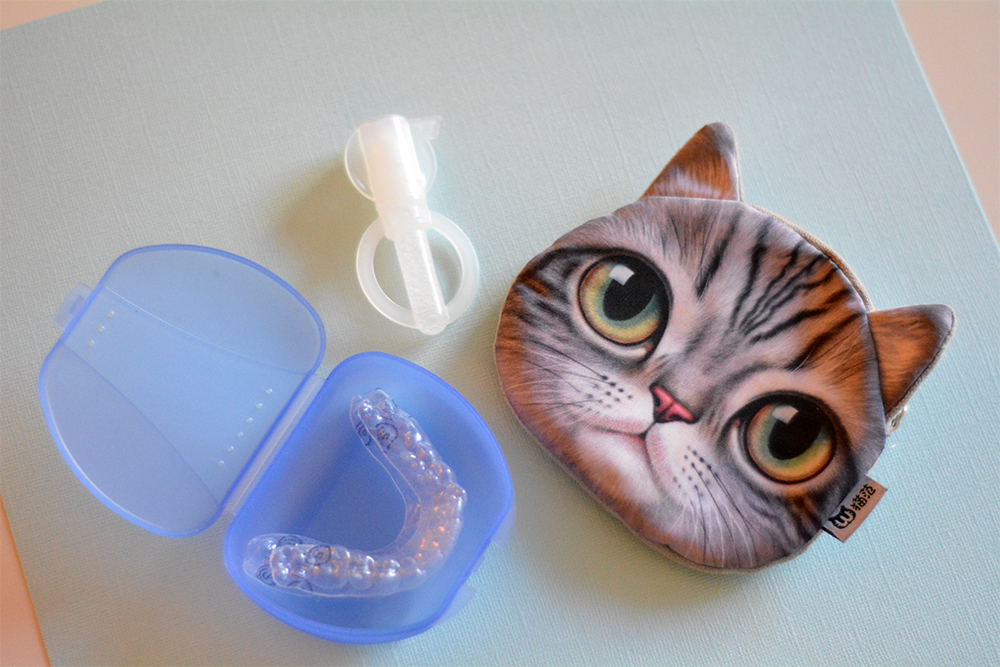
- If you’re forgetful like me, you’ll want to buy several retainer case and put it on different bags (they sell cute cheap ones on
Amazon). Otherwise you might find yourself, having left your braces case at home, stuck wrapping your braces in a paper napkin when you’re eating out. - If you do end up wrapping it in a napkin, put it in your purse ASAP. I’ve heard people accidentally throwing away their braces because they mistook the napkin for thrash.
- Get a pouch to keep your travel toothbrush and toothpaste, just in case you have to brush your teeth and put on your braces back on while you’re out and about. Bonus points if you get a cute cat shaped one.
This is a sponsored post written by me on behalf of Smile Direct Club. I received braces set as compensation. All opinions expressed are purely my own