Update: congrats to Kelly for winning this giveaway.
One of the questions I get asked a lot is “how long have you been blogging?” I honestly don’t remember when I started but I know for sure that it’s been quite some time now. Mimi & Chichi’s earliest post in the archives date back to 2011, and this doesn’t include posts that was lost during one of the site migration. Holy moly!
Since then there have been some changes: my style has evolved and the quality of the photos posted has improved. Thank god for that, because I cringe when I look back at some of my earlier blog post. But hey it’s all good, you live and you learn (not to take photos at midday because the lighting is horrible then). I do wish that I know then some of the stuff I know now. Since there’s no time machine for me to tell past-Gita tips on how to not take a sh*tty photo, I’m gonna share it with you guys instead. And just in case your wondering, these tips are applicable to bloggers and non-bloggers alike.
Also, spoiler alert, there will be a giveaway at the end of this blog for a photoshoot with the lovely and talented Laurel Creative. Lauren is a big part of the reason for the uptick of quality in my photos, so I can’t say enough good things about her. This is a giveaway you’re not going to want to miss.
1. SCOUT LOCATION
Ideally you wouldn’t do this until after you know what you’re shooting for and what outfits you’re going to wear.
Why: Location will make a huge difference on the mood of the photo, which is why you wouldn’t want to do this until you’ve picked out your outfit. If you’re planning to shoot a delicate tulle dress for a wedding brand, shooting in front of an grungy graffiti-tagged building may not be the best idea.
How? Instagram is a great way to scout location. If you have a place in mind, just look it up that location on Instagram. The top 9 photos should give you a good idea on the photo-worthiness of the location (not to mention give you ideas on how to angle the shot). Not really sure where to shoot? Check out where your favorite local bloggers have done their shoot, and go from there. Live in the New York and need ideas, check out my round-up on best places to shoot in Manhattan.
2. CONSIDER LIGHTING AND CROWD
There’s a reason why I usually take my blog photos at 7:30 in the morning: lighting and the crowd situation.
Why: Both can be vastly different depending on time of the day (and the day of the week for crowd). For example: Bryant Park and the steps of The New York Public Library is a great place to shoot, assuming you’re there at the crack of dawn. But forget trying to shoot there at 5pm on a weekday, unless you’re planning on having at least ten extras in your photos.
How? Visit the location at the day and time you’re planning on taking photos. While early morning and late afternoon “golden hours” gets you the best lighting, mornings are prime time for avoiding the crowd. But if you’re that person that’s just never going to get up any earlier than 9am, there are ways around it. You just have to find yourself spots that are away from constant foot traffic that has even shading (Freeman Alley is a good example).

3. “TEST DRIVE” YOUR OUTFITS
Definitely DO NOT attempt to wear something you haven’t worn in awhile without trying it on prior to the shoot.
Why: No judgement, you may have gained some water weight between then and now. This is not something you want to find out the morning of the shoot without any backup plan. Also, great ideas doesn’t always translate to reality. This has happen to me too many times before: an outfit will look so amazing in my head but looks god awful when I actually put it on.
How? Plan outfits and actually try them on. Not just the clothes and shoes — I’m talking the entire kitchen sink. Put on the earrings, necklace, rings and everything else you’re planning to style the outfit with.
4. PLAN YOUR MAKE-UP
Especially important when you’re planning on shooting more than one outfit.
Why: You probably are not going to have time to completely change your make-up in between outfit shoots. But that doesn’t mean that your make-up shouldn’t compliment the outfit.
How? The easiest way to match make-up to your outfit, without completely changing it, is through your lipstick. Pack a bold red and a neutral pink/blush so you have all your bases covered. Be sure to keep your eye make up neutral (my fave is the cat eye — it goes with everything).

5. PACK SMARTLY
When you’re trying to shoot multiple outfits in one go, efficiency is key.
Why: For the most part, my shoots are usually on a time crunch (i.e. I’m trying to get as many outfits as I can in one hour). Packing smartly will allow me to quickly switch between outfits as fast as possible.
How? In general, items that make an outfit should be grouped together. One idea is to put your jewelry inside the bag that it goes with. This way you won’t have to go hunting for the earrings that matches the bag. As a rule of thumb, it’s also a good idea to put shoes and bags on the bottom and clothes on top, so you don’t wrinkle the clothes.
For those of you that plan on taking public transportation to your shooting location, you might even want to consider a collapsible rolling bag. Carrying a huge bag that contains all your outfits can be a workout. And you really don’t want to start your shoot being all sweaty, do you?
6. PLAN (AND PRACTICE) YOUR POSES
Unless you’re an expert at rapid-fire posing, this is one of those things that may sound dumb but is so essential.
Why: This really goes hand in hand with #3. The poses that you think look good in your head, may not actually look good in real life. Also consider the clothing that you’re wearing. Crossing your legs may look good when your wearing a skirt, but can make you look like you have a crotch-bulge when you’re wearing short shorts.
How? It all comes down to practice, practice, practice. Stand in front the mirror, look away and strike a pose. Then look back at your reflection and see what it looks like. Did it match the expectation that you have in your head? If not, time to think of a different pose. Look to your favorite blogs or shopping sites on ideas on how to pose.
7. PLAN YOUR FACE
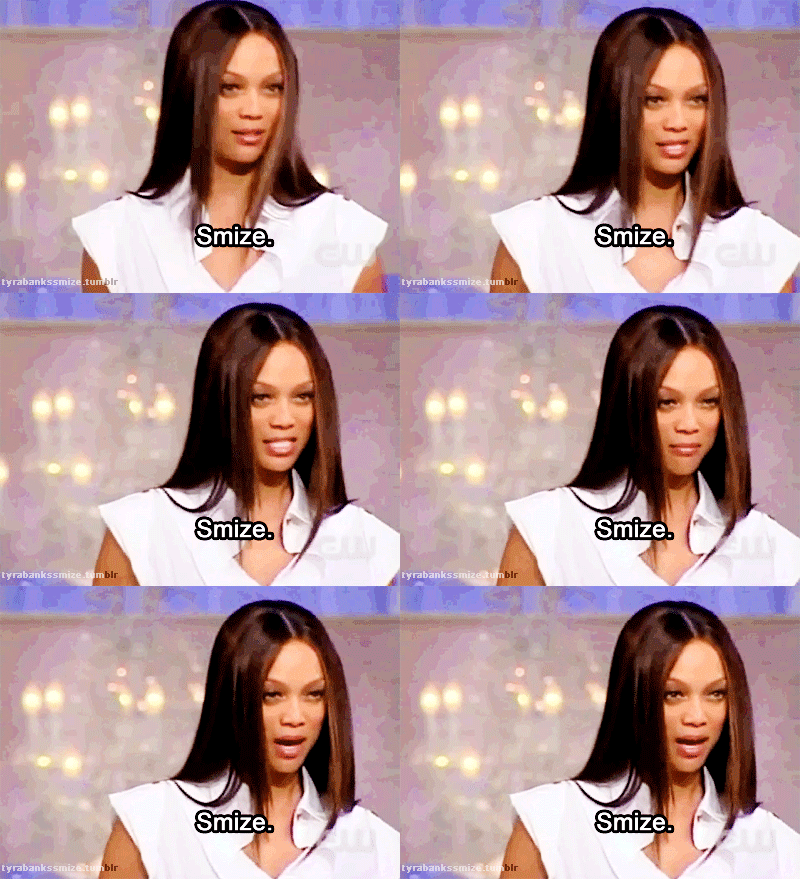
Are you going to smile? Are you going to put on the blue steel? Either way, don’t forget to smize!
Why: Just like the location, this will set the mood. It should depend on the purpose of the shoot or the brand you’re doing it for. Shooting for and hoping to get featured by Old Navy? Considering all of their advertisement always feature smiling models, you’ll unlikely to get featured if you put on a pouty face.
How? Research the brand you’re shooting for — check out their site and Instagram. Are the models smiling naturally? Do they put on a sexy come-hither face? The more you cater to them, the likelier you are to get featured.
8. PLAN A CHANGING AREA
Important if you’re not a fan of how public bathroom smells.
Why: The amount of time it takes for you change in and out of outfit is usually the time-killer when it comes to shoot. The faster you change, the more outfits you’ll be able to shoot. So naturally, having a changing place close by is essential to a productive and efficient shoot.
How? Sure you can plan your shooting location nearby hotels you know have nice public bathrooms. But really the way to up your game is by having a portable a changing tent. This will SIGNIFICANTLY cut down the amount of changing time because you don’t have to travel.
9. PREP FOR THE WEATHER
One can pray to the photography gods for a crisp cloudy day, but Mother Nature is gonna do what she’s gonna do.
Why: We’re not just talking about having location back-ups here, because rain isn’t the only thing that’s going to ruin your parade. Heat can do just as much damage. Humidity can turn your hair from beautiful to a hot sweaty mess within minutes.
How? Obviously check and track the weather as your shoot day approaches. If you’re flexible and can change your shoot day last minute, then awesome. Otherwise plan for a back-up location in the event of rain. Think of high ceilinged indoor space with lots of natural light (WTC Oculus and lounge area of Public Hotel are great examples for these in NYC). Prediction calls for a heat and humidity on the day of your shoot? Pack dry shampoo and oil blotting sheets with you for touch-ups in between shots. Also be sure to wear deodorant, because pit stains ain’t cute.
10. BUDDY UP!
My blogger buddy, Jenna Jordan, and I recently started having monthly photoshoot sessions with Laurel Creative. But even before going pro with Lauren, we had always gotten together to shoot each other’s blog photos.
Why: Buddying-up in is a win-win in pretty much all situation. If you’re hiring a photographer, having a shoot buddy will (sometimes) allow you to reduce the cost. It’s also just more efficient overall. When Lauren is taking my photos, Jenna is in the pop-up tent, changing into her next outfit. We’ve gotten so efficient at this that we can get up to eight outfits done in one hour.
The same goes with having a blogger buddy take your photos. Nobody is going to be as patient with taking your shoot as another blogger (who knows what it’s like to be on the other side of the camera).
How? Want to shoot yourself? Plan a brunch-date with a blogger buddy where you guys can shoot before, during, and after the brunch. Thinking of taking it to the next level and hire a photographer? Ask them if it’s cool for you to split the session with another blogger.
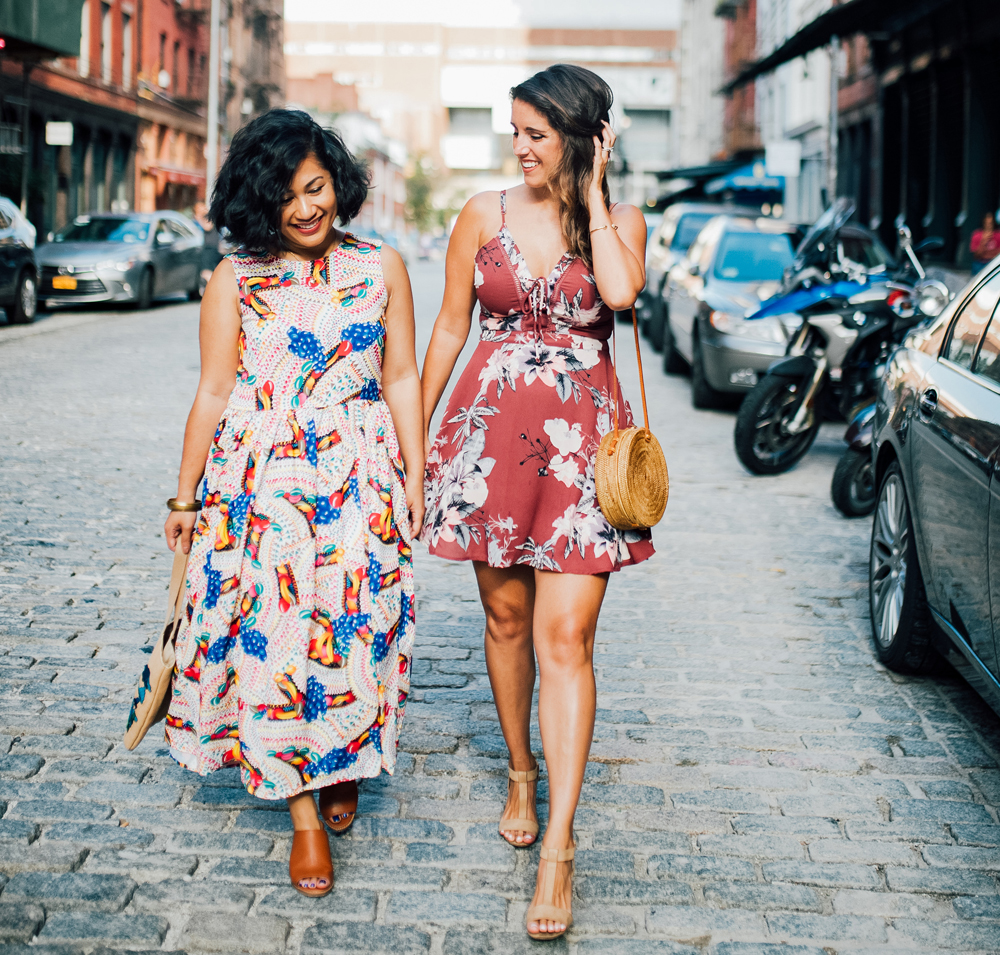
11. SET CLEAR EXPECTATIONS WITH YOUR PHOTOGRAPHER
Is it okay to put filters on your photos prior to posting on Instagram? You may think the obvious answer to this is “yes”, but think again.
Why: Ever heard of that saying “don’t assume because it makes an ass out of you and me”? Take it from my experience that different photographers have different style and you should never assume to know what their preferences are. Just like with any healthy relationship, setting clear expectations is key.
How? Goes without saying that you should first and foremost pick a photographer that matches your style and aesthetic. This will mean that there’s a more seamless transition and less editing required between the photos they give you and what you end up posting online. Here’s a sampling of questions to get straight before hiring a photographer.
- What kind of editing do you expect to get from them? Even out the lighting between photos, remove blemishes, make your face look like an unrealistic porcelain doll?
- What kind of editing are they comfortable with you doing after they hand off the photos? This is especially important if you’re planning on using tools like FaceTune.
Some photographers don’t give a flying f*ck what you do with the pictures once it’s in your hands. Some will be sensitive even about things (as seemingly trivial) as adding filters. - How many pictures are you expecting to get? How long will it take before you get the photos?
- Do they expect you to credit them? If so, how? Heaven forbid that you find out after it’s all said and done that your photographer requires watermarks on all posted photo.
- Be clear on cost expectations. Most photographers I know charge by the hour, but some do charge per outfit. If it’s the earlier, have a conversation with them on how many outfits can realistically be shot in an hour. If it’s your first shoot, the rule of thumb is no more than three outfits.
Phew, I can go on and on with this one, and it almost seems like it warrants it’s own blog post. Hmmmmmmm…
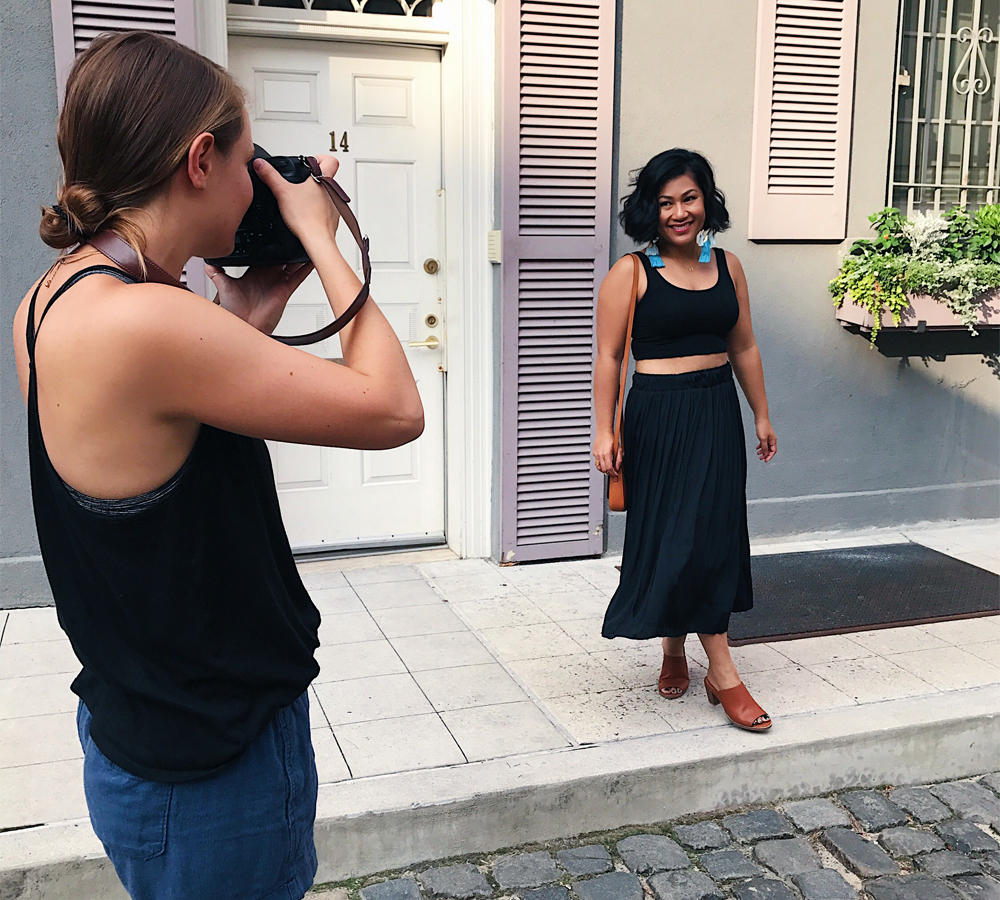
12. BE READY TO SHAKE THE HATERS OFF
Let’s get this straight: if you shoot in a public area, at some point you will get stared at. Most of the time people are just curious as to what you’re doing, they’ll look and then move on with their day. Although, I must say I have encountered the rare creeper (no-eye-contact ignoring is my policy with that one).
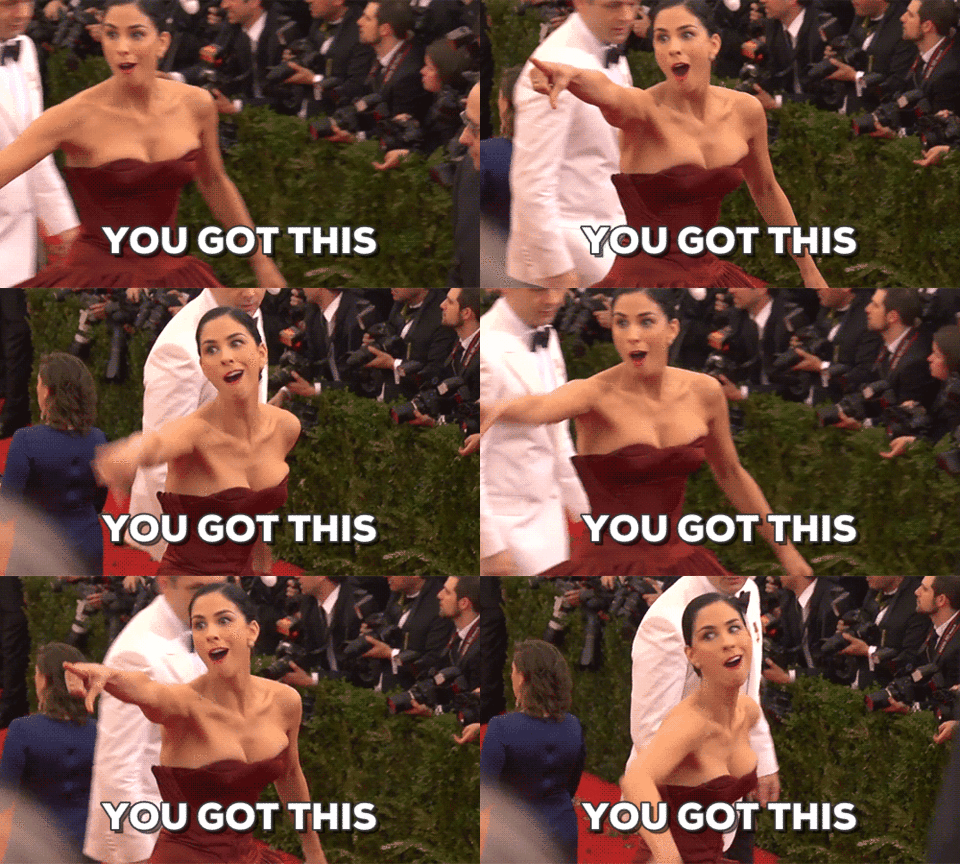
It definitely did not come natural to me, but throughout the years I’ve built an immunity to being embarrassed by oglers. I also found that the more prepared I am for the shoot, the more confident I feel, and that comes through in the result of the shoot. So prep as much as you can, have fun at the shoot, and remember:
Now time for the giveaway! Winner will get an hour photoshoot with Laurel Creative, enough time to fit in three outfits. Shoot must happen in the New York City area, but for you out-of-towners, it’ll be a good excuse to come and visit the city.
All task entry below is optional; do as many as you like. The more entry you complete, the higher your chances are to win.
a Rafflecopter giveaway
Not so little fine prints:
- No purchase necessary. A purchase does not improve your chance of winning. Void where prohibited.
- Entrant must be 18 years old as of sweepstakes start date and a legal resident of the 50 United States and the District of Columbia as of start date.
- Sweepstakes begins Friday, Aug 11, 2017, at 12:00 a.m. EST, and closes on Saturday, Aug 25, 2017, at 12:00 a.m. EST.
- Each entrant selected as a potential winner must comply with all terms and conditions set forth in these Official Rules, and winning is contingent upon fulfilling all such requirements. Winners will be selected by random drawing. If a potential winner cannot be contacted within fourteen (14) days after the first attempt to contact such potential winner, an alternate entrant will be selected in his or her place from all entries received.
- Photoshoot must be conducted in the New York City area. Winner is responsible for any travel expenses he/she might incur in getting to photoshoot location.

This is such a great article! You fit in 8 looks in one hour (props to you girl! that’s amazing!). I usually shoot with my friend but we’ve been talking about using a professional photographer and this would be an AMAZING opportunity to take our blogs to the next level! Love you style! xx Vee
inloveandlacebyvee.com
These are great tips and an amazing giveaway, thank you!
xx Kelly
Sparkles and Shoes